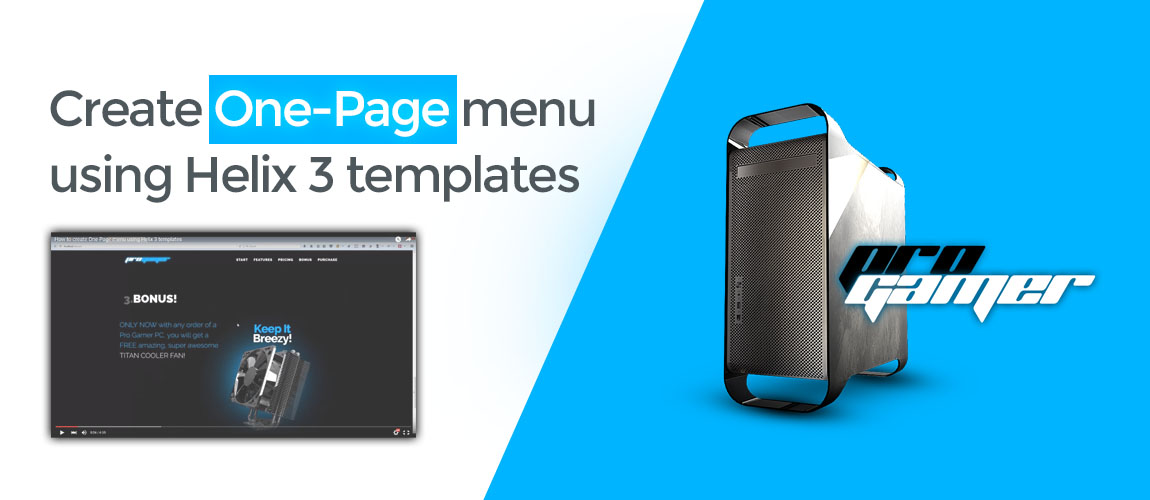
Every once in a while you need to have a simple one-page site, or a nice landing page in which the menu should only link to the sections you have in this page. The solution will be to have the so-called "One-Page Menu". This menu gives you the ability to link all your sections and the whole menu navigation stays only on the current page.
Now we'll show you how you can achieve this using our Helix 3 based templates. Let's try it :)
Watch the Tutorial1. The first and most important step is to build your content. Add all your modules and sections that you want to have. In our example we have used our IT Elemento template to build the demo content. The theme of the page is a Gaming Computer Landing page (it's not a real page, it's only for the purpose of this tutorial).
We recommend to have only 1 module in a section - per example in the Top-A row, place only 1 module. This is in order to link easly the menus afterwards.
2. Create your menu items which will link to your sections. All your menu items should be External URL, except for the Main menu (Home menu in this case called "Start"). The default/ main menu item can simply be linked to an article which also will play the role of a section (in our case the article section is called "3.Bonus").
3. When you create all your menu items you need to link them to the sections accordingly. Our suggestion is to use FireBug or Chrome Inspect Element to find easily the section IDs. Once you copy the section ID go the coresponding menu item and add the link (the sections links will look like: #sp-top-a, #sp-main-body, etc..).
Once you add all your section links the menu will work like a one-page menu. Except for the Home/Start menu which will still link to the home page/article.
4. In some browsers you might see a dotted border around the menu item link when you click on it. Of course you can remove this styling by simply adding the following lines in your custom.css:
.sp-megamenu-parent > li > a:hover,
.sp-megamenu-parent > li > a:active,
.sp-megamenu-parent > li > a:focus {
	outline: 0;
}
You can create a custom.css file in ROOT/templates/Your_Template/css/ in order to add your custom styling. This way you will prevent LESS or CSS overrides when you update our templates.
5. Basically the one-page menu is ready, but you can add a cool little effect which will change the scrolling of the page when you click on a menu. To do this you can use the UI Kit Smooth Scroll component. Here's how to do it - create a JS file in ROOT/templates/Your_Template/js/ and call it however you like (in our case it's called one-page.js).
Copy the following code and add it to your JS file:
(function($) {
	$(document).ready(function() {
		$( ".sp-megamenu-parent > li > a" ).attr( "data-uk-smooth-scroll", "{offset: 30}" );
	});
})(jQuery);
6. Finally, open ROOT/templates/Your_Template/index.php and call the new JS file there. When you open the index.php file, find line 131 which ends with:
offcanvas-menu.js') // JS FilesAdd your new file there like this (we are adding our one-page.js):
offcanvas-menu.js, one-page.js') // JS FilesSave the changes and test.
If you have done everything right, you will have a nice and smooth transition effect when you click on any of the menu items. Enjoy!

